


![Can you Cook Eggs in the Microwave? [Complete Guide]](/assets/images/c1f79d1cad59f18f9b5dc31403bd0eb2.png)


This Bird's for You Beer-Can Chicken
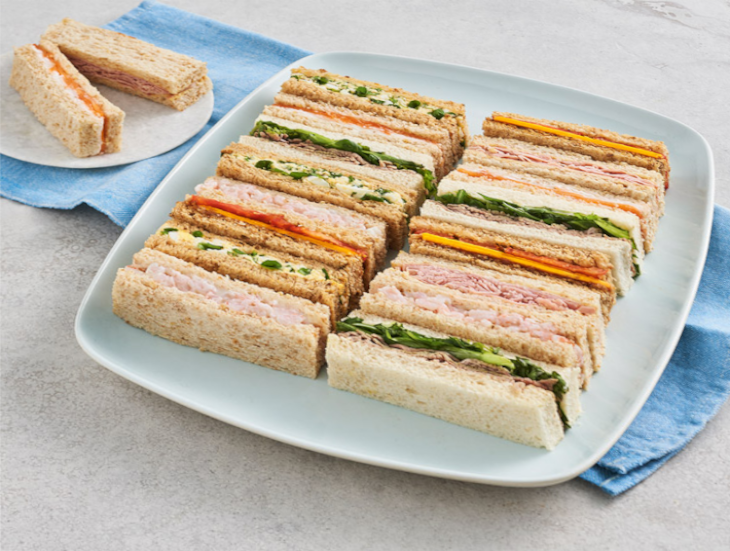
Beer-can chicken has moved from novelty to standard fare for many backyard pitmasters. I first learned about it from the late Hank Lumpkin of Boss Hawg's BBQ in Topeka, Kansas. Hank called it "beer-butt chicken." The barbecue industry has responded with lots of beer-can chicken gadgets and holders, if you want to get fancy. You should know that once the chicken has perched on its beery throne, it never goes back to a regular roast chicken shape – the opening stays wide open. So don't plan on serving it whole on a platter; cut it into moist and delicious pieces. As the beer is mainly for the moisture and the support, don't waste a good microbrew on this recipe. I use cheap beer and get tasty results. Serve with garlic mashed potatoes garnished with chopped parsley and a medley of grilled vegetables. This is one you can do on your gas grill.
Suggested wood: Apple, pecan, or hickory
Ingredients
Instructions
Fill your charcoal chimney with briquets, set the chimney on the bottom grill grate, and light, or prepare a fire in your smoker. For a gas grill, turn the temperature to low or 250°F (120°C). Oil the grill grate.
When the coals are ready, dump them into the bottom of your grill, and spread them evenly across the bottom. Scatter the wood chips on the hot coals or place them in a metal container as close as possible to a burner on a gas grill.
Open the beer can and pour out about 1 ounce. If you're using a ceramic or stainless-steel holder with space for the beer, pour the beer into the holder. Place the chicken cavity over the beer can or holder. Place the chicken in the middle of the grill and use the chicken legs to balance it. Brush the chicken with the olive oil and sprinkle lightly with the salt and pepper. When the smoke starts to rise, close the lid. Place a candy thermometer in the lid vent of a charcoal grill or smoker.
Smoke at 250°F for 1-1/2 to 2 hours, or until a meat thermometer registers 165°F (74°C) when inserted into the thickest part of the thigh. Remove the chicken from the cooker and let rest, covered, for 15 minutes before carving.
Note: The appearance of "red" meat next to the bones is a normal result of the cooking process.